Qiankun 微前端框架初探(vue2)
# Qiankun 微前端框架初探(vue2)
qiankun 中文文档 (opens new window)
# 主应用
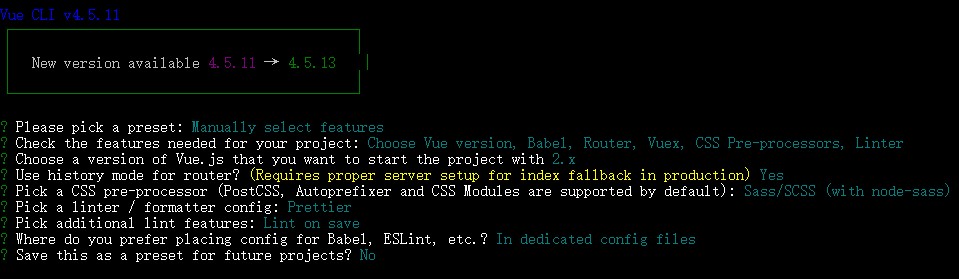
1、基于 @vue/cli 创建 vue2 项目
vue create vue-main
2、下载 qiankun
npm i qiankun -S
3、配置 mian.js
import Vue from 'vue'
import App from './App.vue'
import router from './router'
import store from './store'

// 导入qiankun.js
import { registerMicroApps, setDefaultMountApp, start } from 'qiankun'
Vue.config.productionTip = false

new Vue({
  router,
  store,
  render: (h) => h(App)
}).$mount('#app')

// 注册子应用
registerMicroApps([
  {
    name: 'vue app', // 子应用名称
    entry: '//localhost:7101', // 子应用入口
    container: '#container', // 子应用所在容器
    activeRule: '/childOne' // 子应用触发规则(路径)
  },
  {
    name: 'vue app2', // 子应用名称
    entry: '//localhost:7102', // 子应用入口
    container: '#container', // 子应用所在容器
    activeRule: '/childTwo' // 子应用触发规则(路径)
  }
])

// 启动默认应用
setDefaultMountApp('/')

// 开启服务
start()
4、配置 App.vue
<template>
<div id="app">
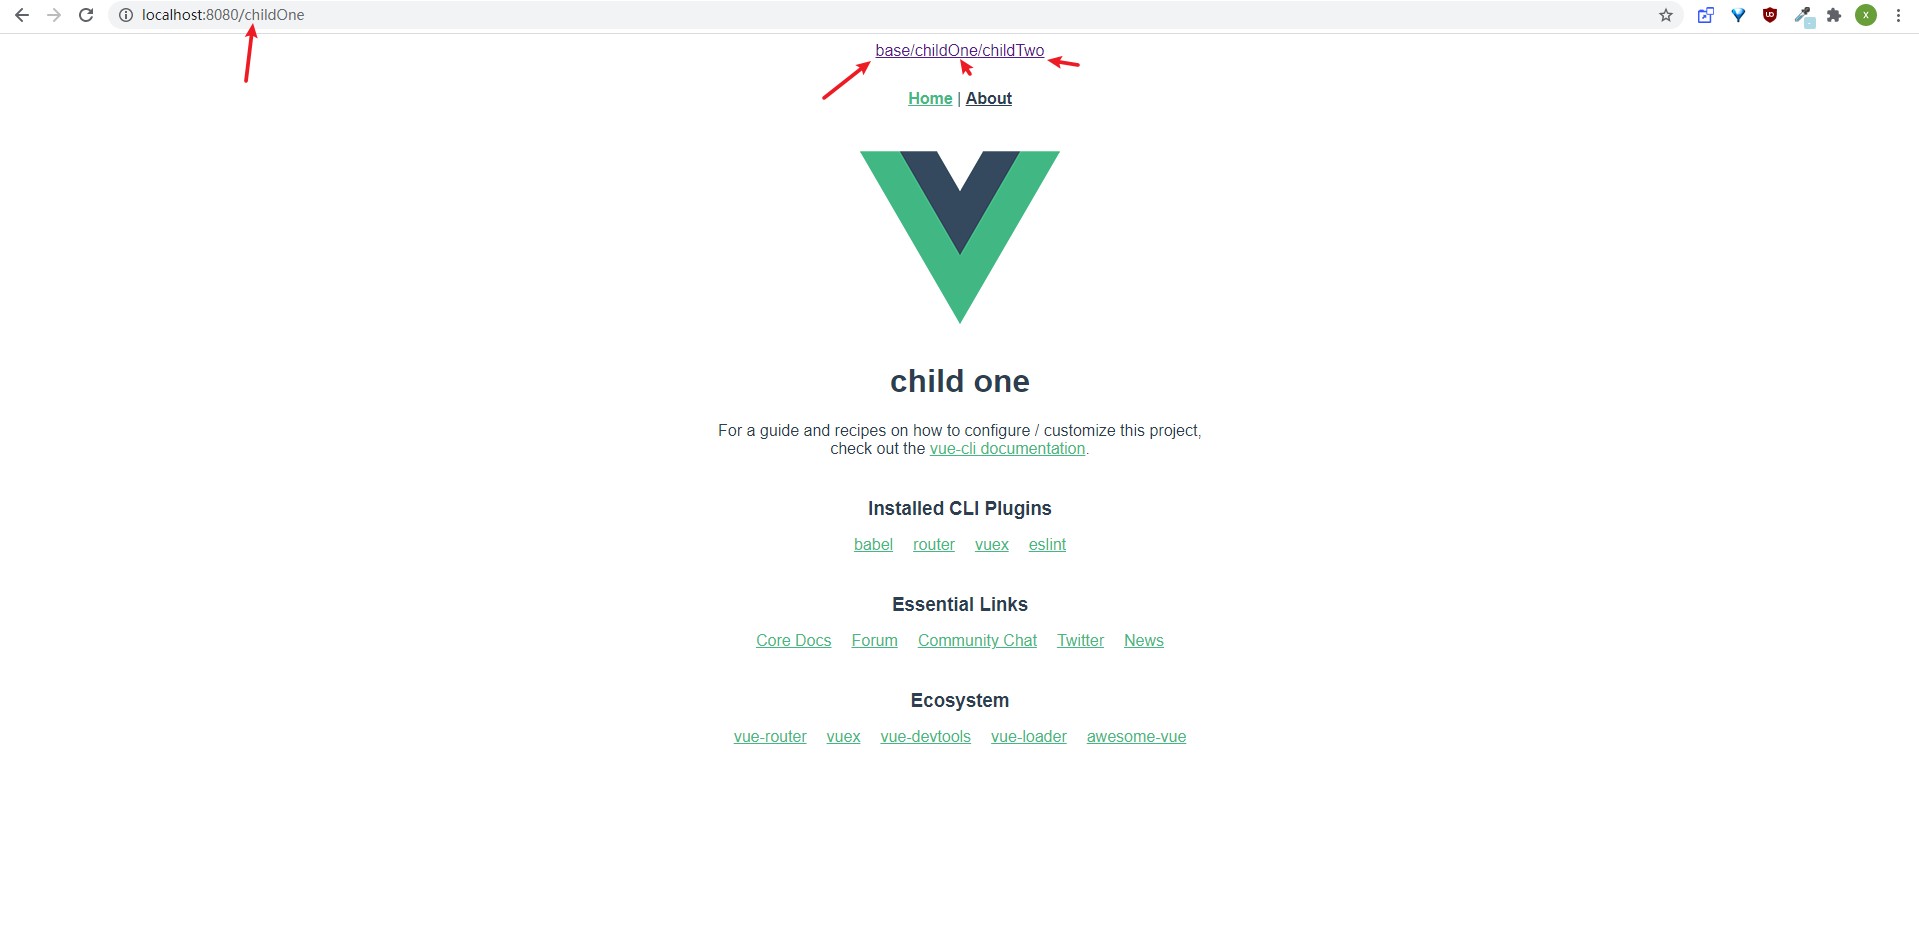
<a href="/">base</a>
<!-- 子应用 跳转 -->
<a href="/childOne">/childOne</a>
<a href="/childTwo">/childTwo</a>
<!-- 主应用容器 -->
<router-view></router-view>
<!-- 子应用容器 -->
<div id="container"></div>
</div>
</template>
# 子应用
1、基于 @vue/cli 创建 vue2 项目
vue create vue-childOne
子应用无需安装 qiankun
2、配置 main.js
/* eslint-disable no-undef */
import Vue from 'vue'
import VueRouter from 'vue-router'
import App from './App.vue'
import routes from './router'

Vue.config.productionTip = false

let router = null
let instance = null

function render(props = {}) {
  const { container } = props
  router = new VueRouter({
    base: '/childOne',
    mode: 'history',
    routes
  })

  instance = new Vue({
    router,
    render: (h) => h(App)
  }).$mount(container ? container.querySelector('#app') : '#app')
}

// webpack打包公共文件路径
if (window.__POWERED_BY_QIANKUN__) {
  __webpack_public_path__ = window.__INJECTED_PUBLIC_PATH_BY_QIANKUN__
}
// 独立运行
if (!window.__POWERED_BY_QIANKUN__) {
  render()
}

// 生命周期
export async function bootstrap() {
  console.log('[vue] vue app bootstraped')
}
export async function mount(props) {
  console.log('[vue] props from main framework', props)
  // storeTest(props);
  render(props)
}
export async function unmount() {
  instance.$destroy()
  instance.$el.innerHTML = ''
  instance = null
  router = null
}
3、配置 router/index.js
import Vue from 'vue'
import VueRouter from 'vue-router'
import Home from '../views/Home.vue'

Vue.use(VueRouter)

const routes = [
  {
    path: '/',
    name: 'Home',
    component: Home
  },
  {
    path: '/about',
    name: 'About',
    // route level code-splitting
    // this generates a separate chunk (about.[hash].js) for this route
    // which is lazy-loaded when the route is visited.
    component: () => import(/* webpackChunkName: "about" */ '../views/About.vue')
  }
]

export default routes
4、配置 vue.config.js
const path = require('path')
const { name } = require('./package')

function resolve(dir) {
  return path.join(__dirname, dir)
}

const port = 7101 // dev port

module.exports = {
  /**
   * You will need to set publicPath if you plan to deploy your site under a sub path,
   * for example GitHub Pages. If you plan to deploy your site to https://foo.github.io/bar/,
   * then publicPath should be set to "/bar/".
   * In most cases please use '/' !!!
   * Detail: https://cli.vuejs.org/config/#publicpath
   */
  outputDir: 'dist',
  assetsDir: 'static',
  filenameHashing: true,
  // tweak internal webpack configuration.
  // see https://github.com/vuejs/vue-cli/blob/dev/docs/webpack.md
  devServer: {
    // host: '0.0.0.0',
    hot: true,
    disableHostCheck: true,
    port,
    overlay: {
      warnings: false,
      errors: true
    },
    headers: {
      'Access-Control-Allow-Origin': '*'
    }
  },
  // 自定义webpack配置
  configureWebpack: {
    resolve: {
      alias: {
        '@': resolve('src')
      }
    },
    output: {
      // 把子应用打包成 umd 库格式
      library: `${name}-[name]`,
      libraryTarget: 'umd',
      jsonpFunction: `webpackJsonp_${name}`
    }
  }
}
以上就完成了 子应用的配置
按照以上步骤再生成一个 vue-childTwo
修改 main.js 的 router 的 base 为 /childTwo
修改 vue.config.js 中 port 为 7102
以上就完成了第二个子应用的配置,如需更多子应用,照上步骤即可
# 运行
- 主应用: vue-main 运行
npm run serve端口号默认为: 8080 - 子应用: vue-childOne 运行
npm run serve端口号为: 7101 - 子应用: vue-childTwo 运行
npm run serve端口号为: 7102
打开主应用地址 http://localhost:8080 (opens new window) 即可。